
Make your first clone
Quick Start, screen by screen, in about ten minutes.
Quick Start is the main path and the one almost everyone takes. Six screens, about ten minutes, and you finish with a clone that is live and has a link you can send someone.
There is a second route, the full wizard, which gives you more control and takes longer. If you have never built a clone before, use this one. You can switch at any point and nothing is lost.
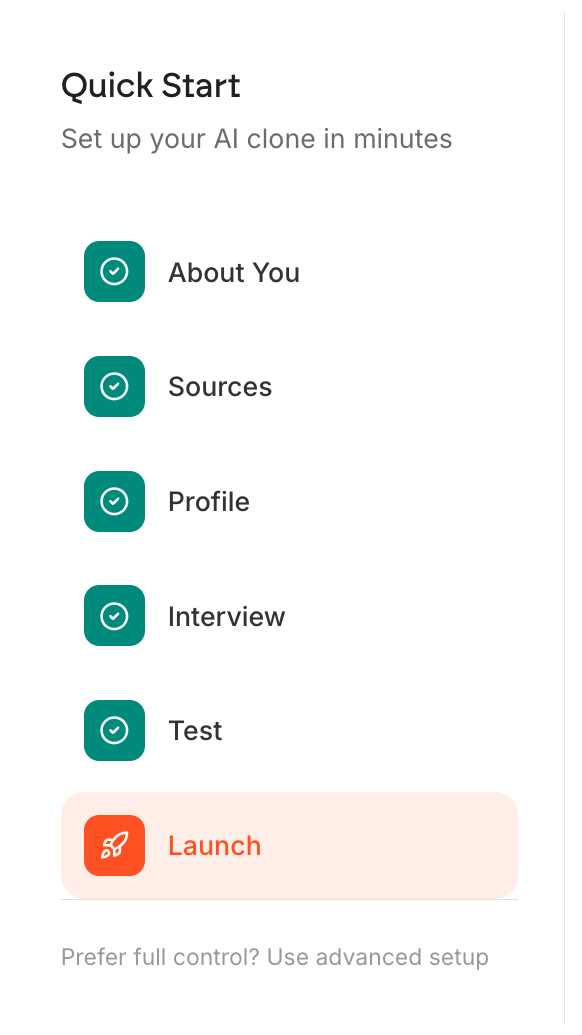
You can click back to any step you have finished, but you cannot jump ahead to one you have not.
Step 1: About You
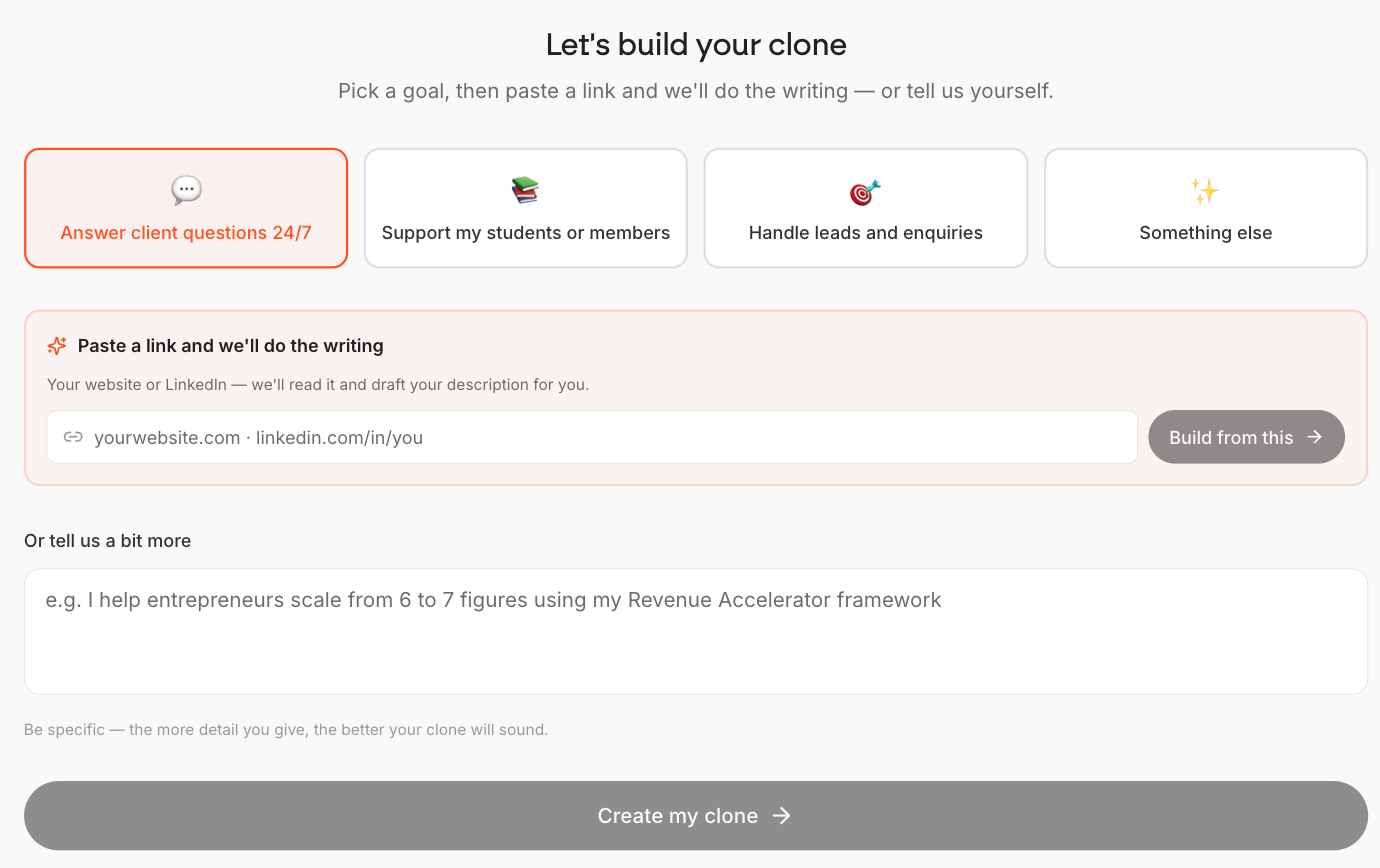
Pick one of the four goals, then give Personify something to work from. Either paste your website or LinkedIn and press Build from this, and it drafts your description for you, or write a couple of sentences yourself in the box underneath.
Then press Create my clone.
Pasting a link is the faster and better start. It uses your own words from your own site, which beats anything you would type into an empty box in a hurry.
Step 2: Sources
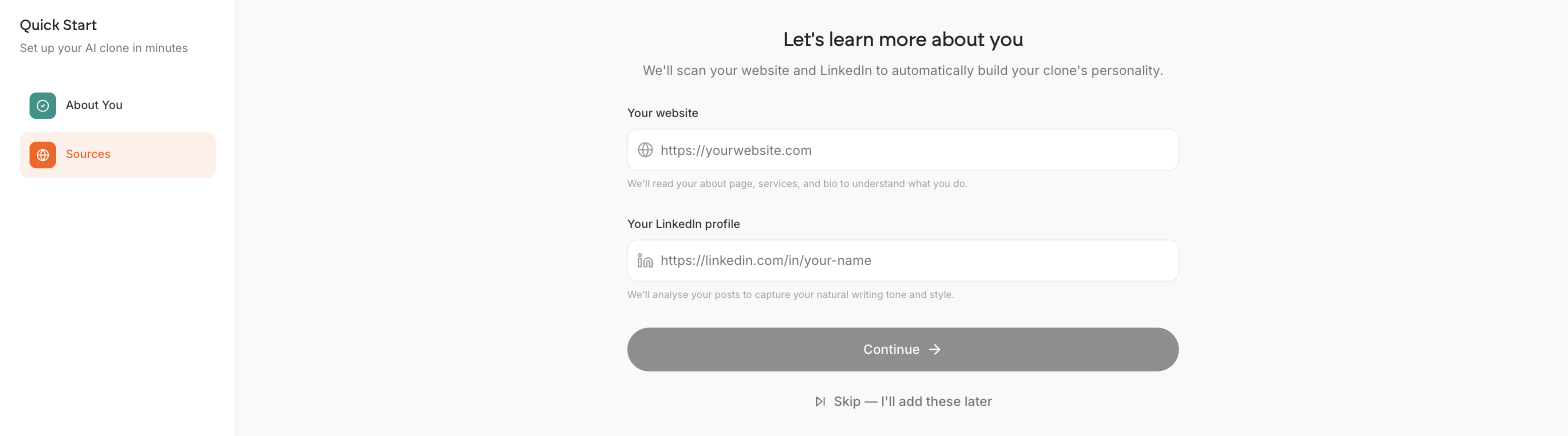
Your website and your LinkedIn profile. Personify reads your about page, services and bio, and analyses your posts for writing tone.
Both fields are optional and there is a Skip link underneath. Skipping shows a warning first, because a clone with nothing to draw on is guessing rather than speaking from your work. You can still skip past that.
Step 3: Profile
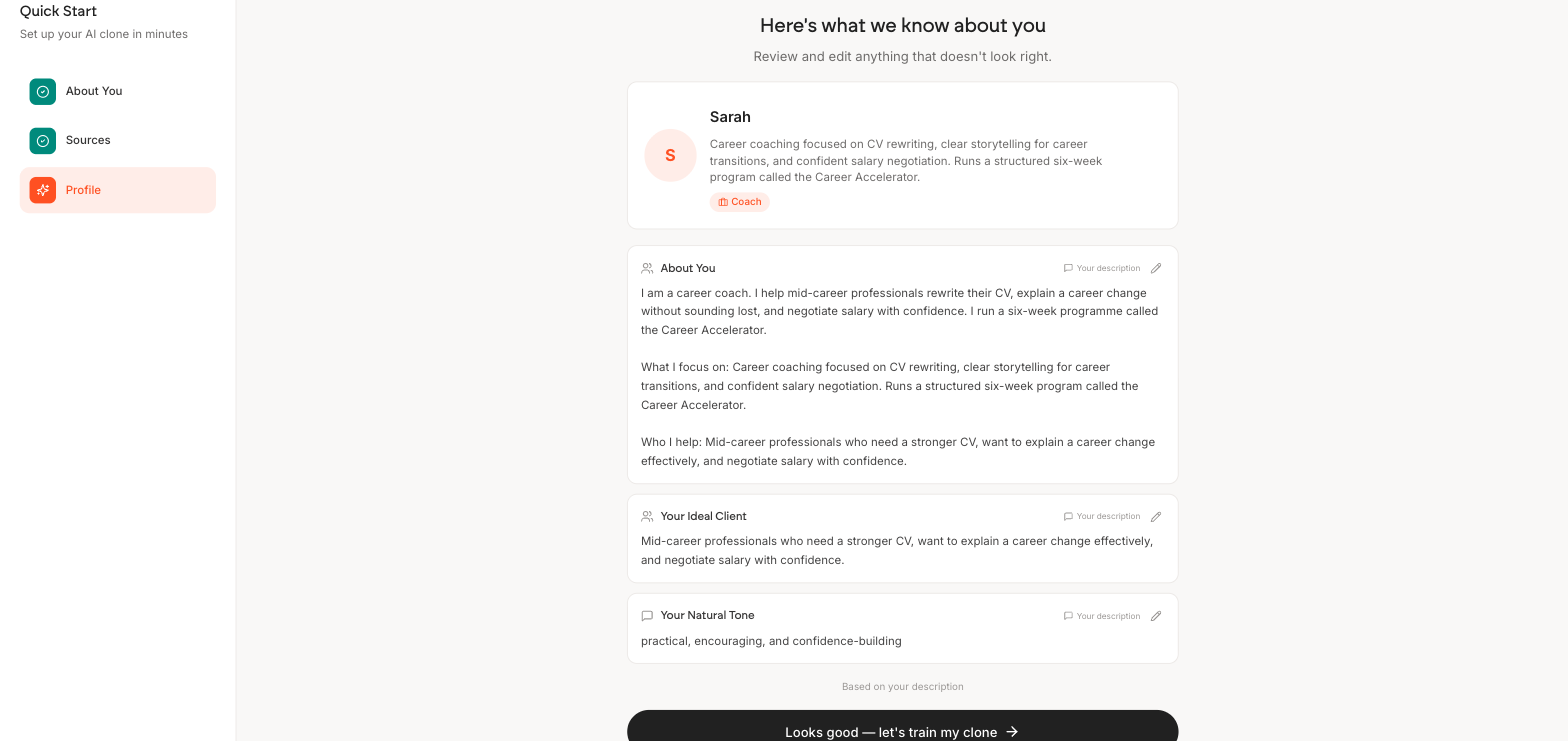
What Personify worked out about you, laid out for review. Your clone name and template at the top, then About You, Your Ideal Client and Your Natural Tone. Click the pencil on any panel to edit it.
Read it properly rather than clicking through. Anything wrong here is wrong in every answer your clone gives, and it is far quicker to fix now than to correct later.
Step 4: Interview
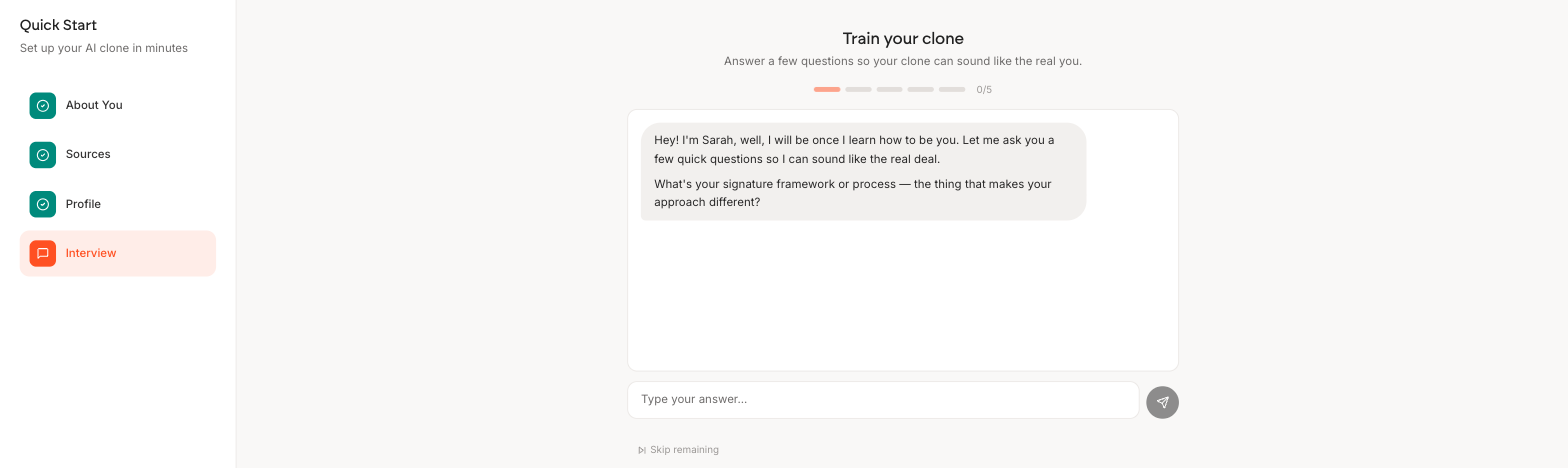
Five questions asked as a chat, starting with your signature framework or process. This is the step that does most to make your clone sound like you rather than like an AI.
When you have answered them, or skipped, you get a Review your answers screen where you can click any response to edit it before moving on.
If you only do one step of Quick Start properly, make it this one. Five honest answers here shape how your clone speaks more than any document you upload later. Skip remaining is there if you are short of time, and you can answer them afterwards from the editor.
Step 5: Test
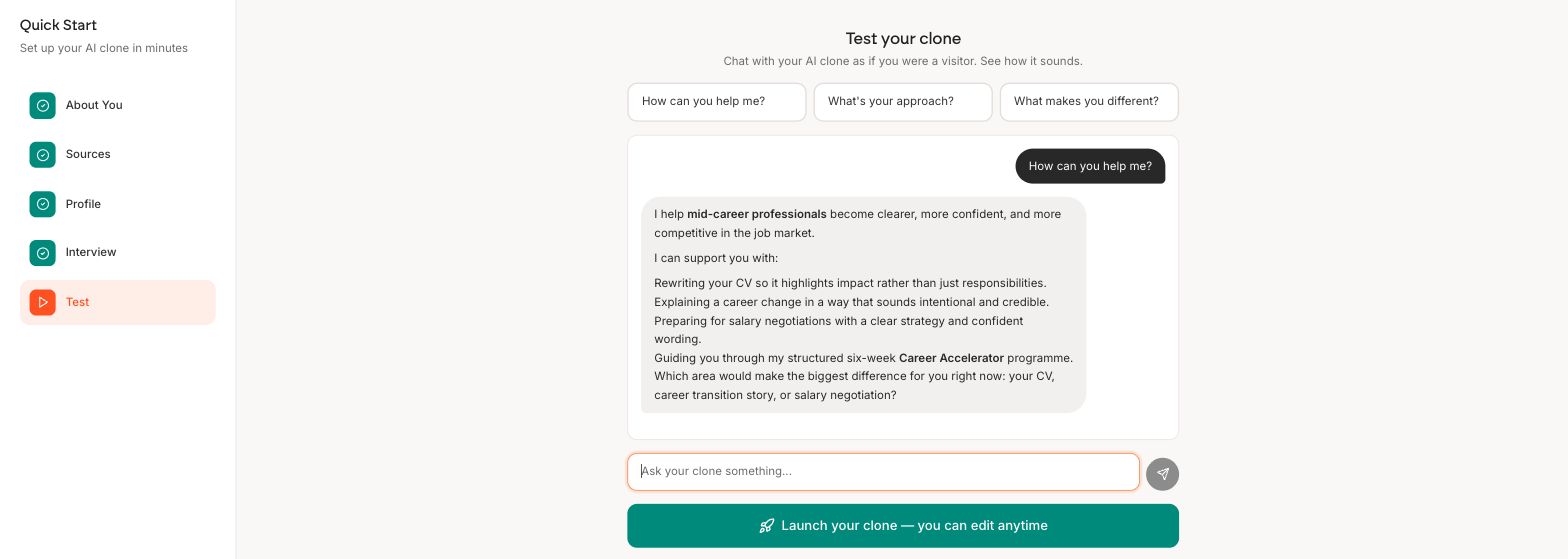
Try your clone on the kind of question you actually get. Three suggestions are offered, or type your own.
Then press Launch your clone. That does not end the flow, it takes you to the last step.
Launch even if it is not perfect. Your page is private until you share the link, and real questions are what tell you what to improve next.
Step 6: Launch
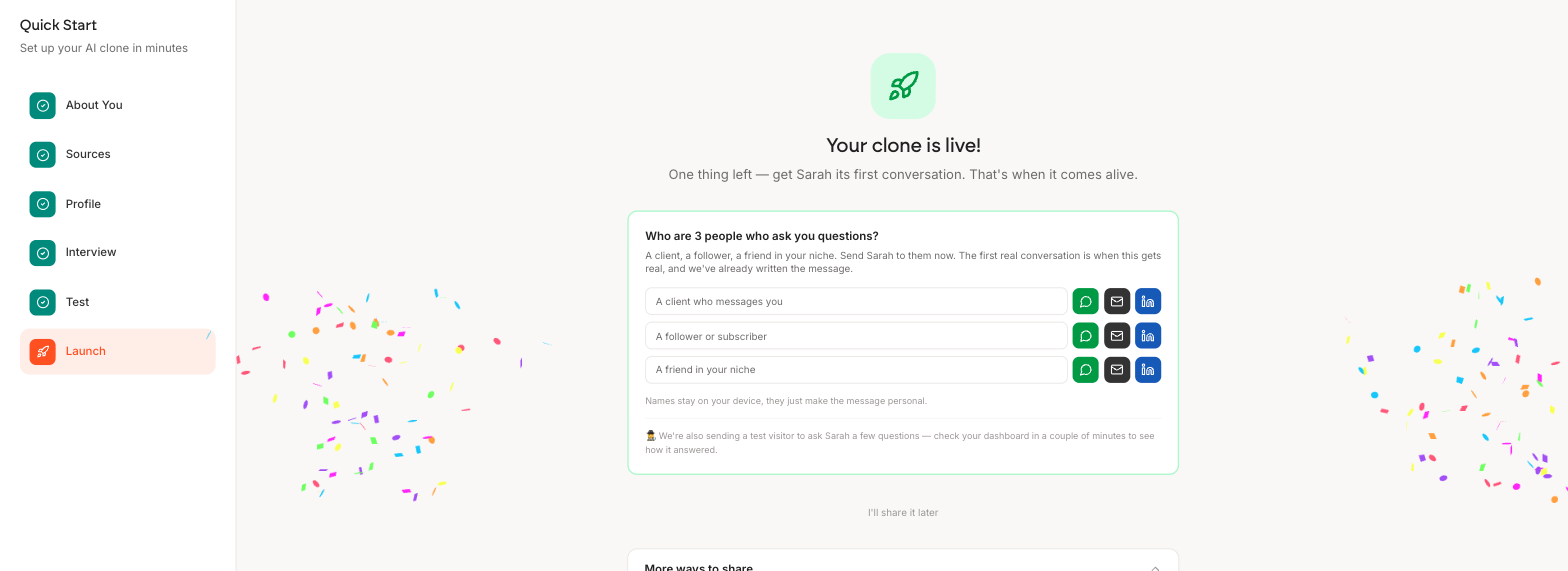
Your clone is live. This screen exists to get it its first real conversation, because that is the point at which you find out whether any of it works.
Name three people who already ask you questions. A client, a follower, a friend in your niche. Each row gives you a WhatsApp, email and LinkedIn button, with the message already written. The names stay on your device and only personalise the text.
Personify also sends a test visitor to ask your clone a few questions, so there is something in your dashboard to look at within a couple of minutes.
If you would rather not send anything yet, I will share it later moves on without it.
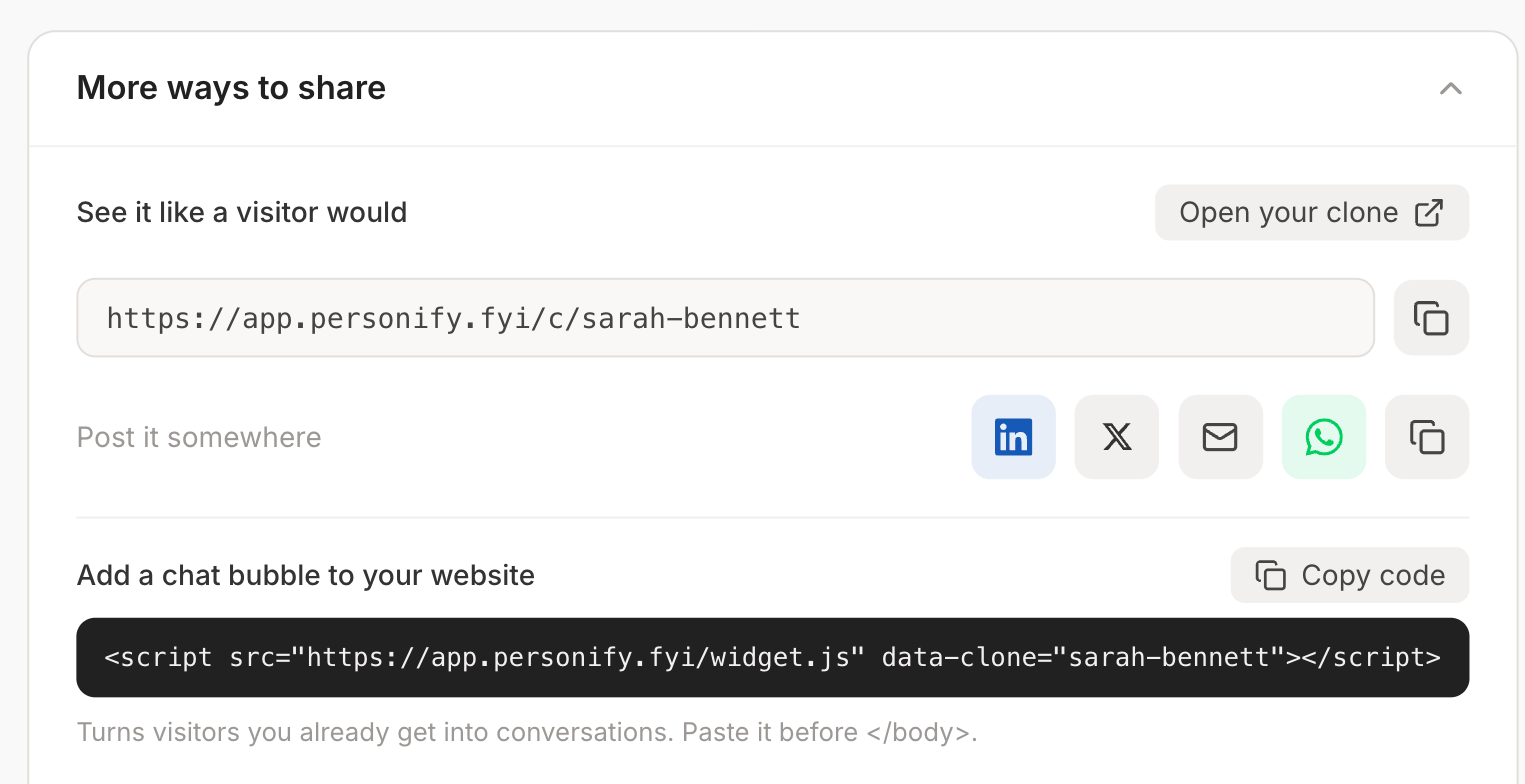
Open More ways to share for the rest: your share link, buttons that post it, the one line snippet that puts a chat bubble on your own site, and a QR code you can download for a slide or a business card.
From here, Customise further in advanced editor opens the full editor, or Go to Dashboard leaves it as it is.
If you would rather have more control
At the bottom of the Quick Start rail there is Prefer full control? Use advanced setup, which switches you to the wizard. Anything built in Quick Start can be opened in the full editor afterwards, so nothing is lost either way.